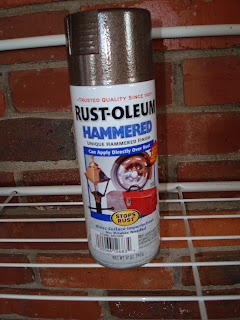
 I wasn't crazy about the color of the frame - it looked pretty dated and "I've been sitting above a 'davenport' for fifty years," so I cover it with my new best friend - Rustoleum Hammered Spray Paint.
I used one of my 40% off coupons at Hobby Lobby and picked up this Cork Roll.
 I measured the inside of the frame and cut the cork to fit. Be careful because the cork can split pretty easily.
 | picture from U-line |
I had these fancy push-pins I found at Wally World a while back, and thought they would be perfect for holding up my beloved burlap.
My almost-end result is this:
I had originally been going for a "Thanksgiving" decoration that I could whip out each year and have everyone write something they are thankful for (like we did on the leaves this time). Then my wheels got to spinning and I decided I like it too much, and it fits on the side of my fireplace to well to only come out for a month out of the year. This piece is going to be like a teacher's bulletin board. I can change it for each season or holiday, post memory verses we are trying to memorize, or even display love notes for my precious family. Yippee! My first tutorial is done!


Great! Happy Thanksgiving!
ReplyDeleteHi Cara! Nicely done! Question: How did you affix the cork board to your picture frame? Happy Thanksgiving! Jayna
ReplyDeleteHey there Jayna! I forgot to put that ( oops ) I used an insane amount of hot glue, because I wanted to make sure it was down really well.
ReplyDeleteThanks, Cara :-)
ReplyDelete